") Maxime CASIER
Maxime CASIER Using SOLIDWORKS Composer: 10 must-have features

Function 1: Copy an actor's transformation
If you've moved some of your actors and forgotten to include them in your selection, there's no need to start all over again! In fact, you can use the "Copy actor transformation" function in SOLIDWORKS Composer. This allows you to give one or more pre-selected actors the same move as a target actor.
Function 2: Restore neutral properties
All actors imported into SOLIDWORKS Composer arrive with neutral positions and properties. If you wish to restore an actor's neutral properties, you have several options.
In the "Properties" pane, the "Restore neutral properties" icon restores the position and all properties of an actor.
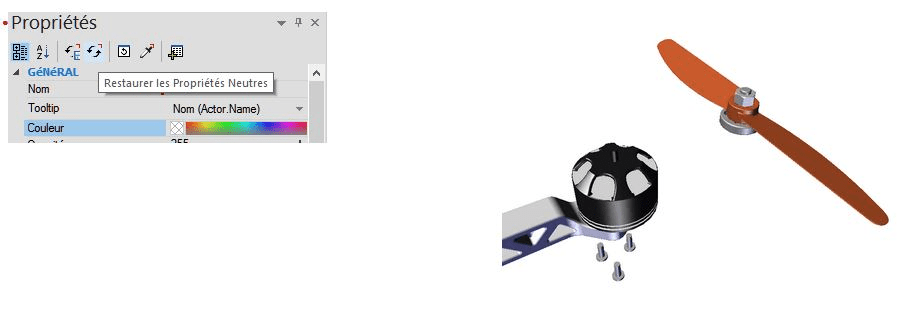
In the "Properties" pane, if a property is selected and you click on the "Restore neutral properties" icon: this restores only this property for the selected actor.
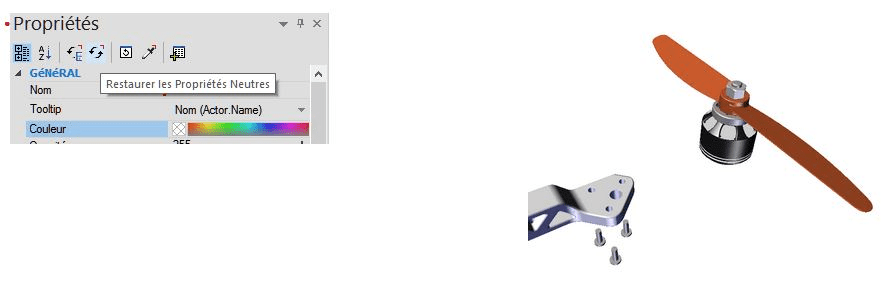
In the "Transform" tab, the "Restore neutral position" tool restores only the neutral position of the selected actor.
Function 3: Custom rendering
To highlight certain parts in a view, it may be useful to use the custom rendering mode. It allows you to assign a rendering type to each actor.
In the "Rendering" tab, expand the "Mode" tool and select "Custom". Then, in the "Properties" pane, for each actor, you have access to a list of choices for its rendering type.
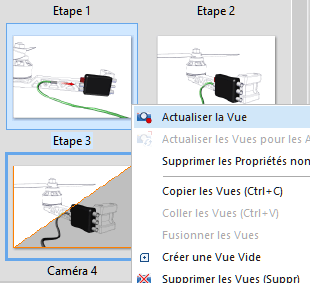
Function 4: Update an actor in multiple views
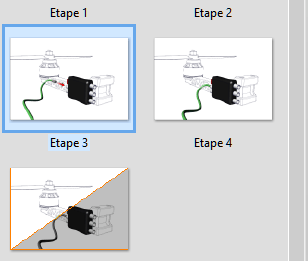
If you add an actor to a view and wish to add it to several views, you can use the "Update view(s)" function for the selected actors.
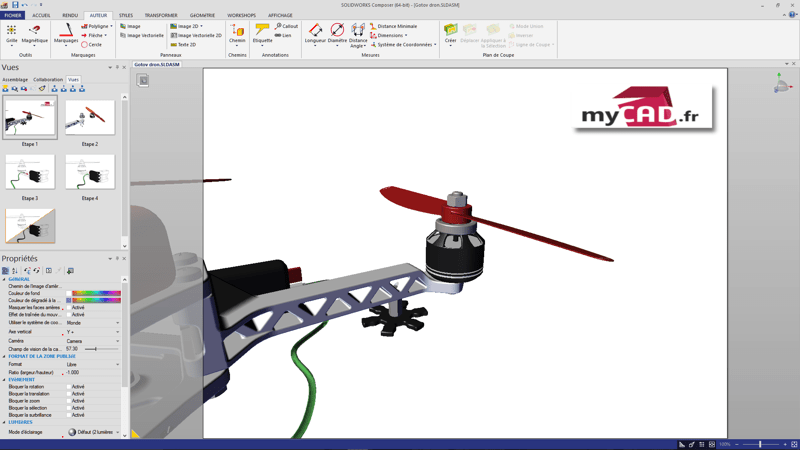
To do this, simply select the actor in the Viewport and all the views you wish to add it to. Then click on the "Refresh view(s)" icon for the selected actor(s). In this way, the actor is present in all views.
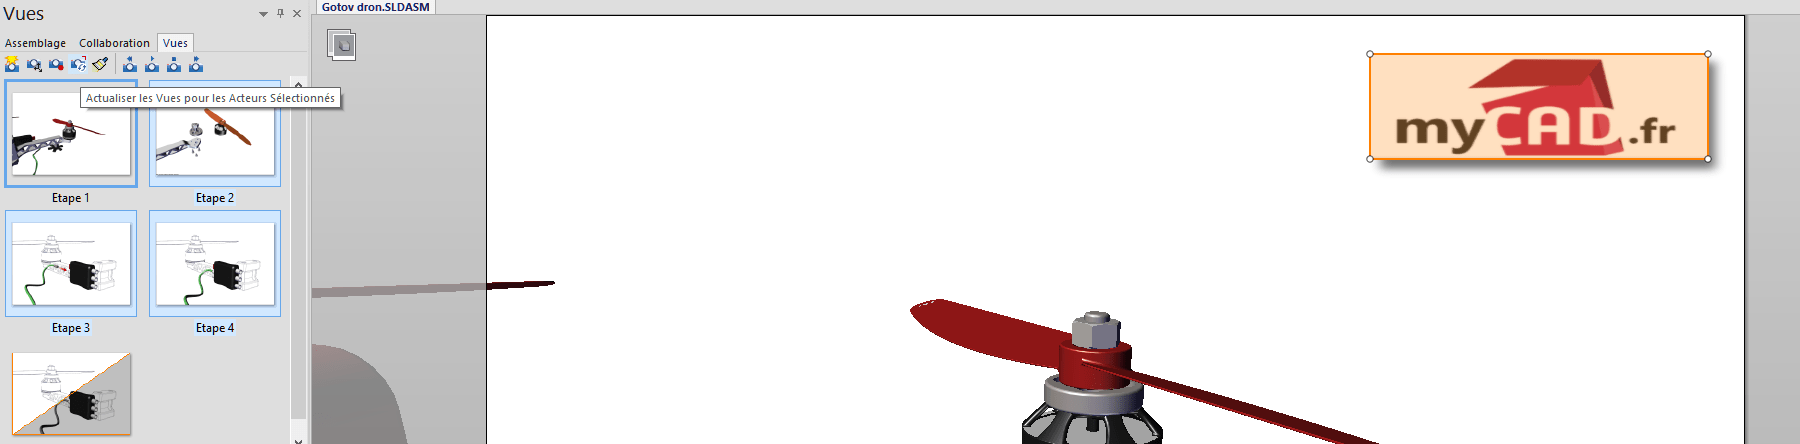
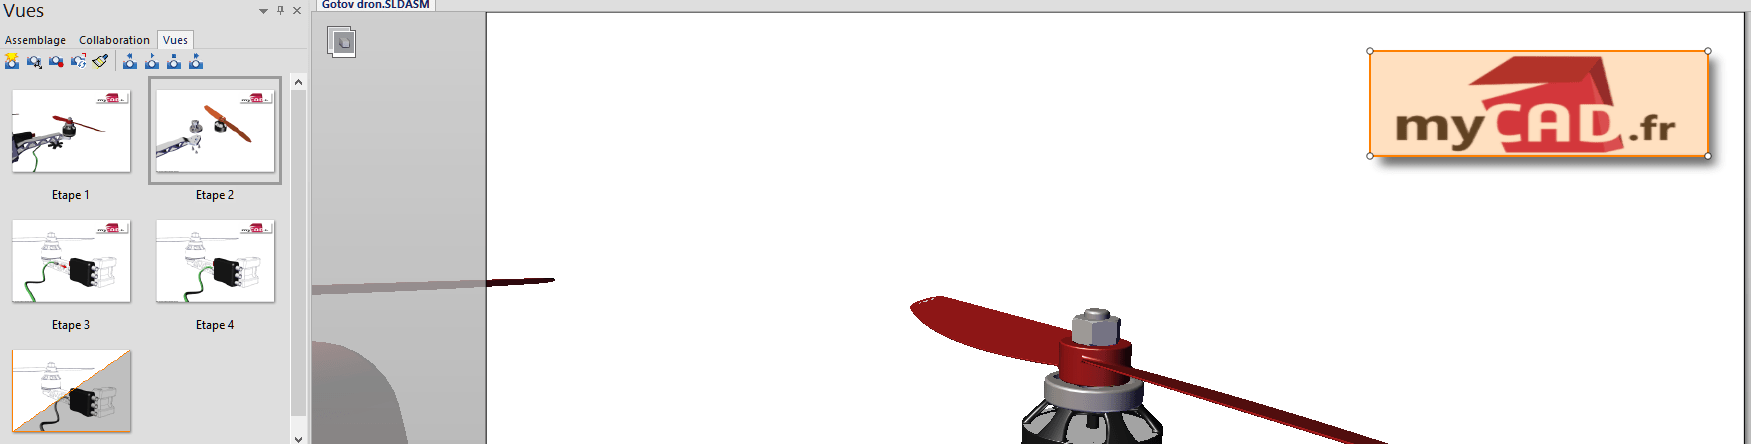
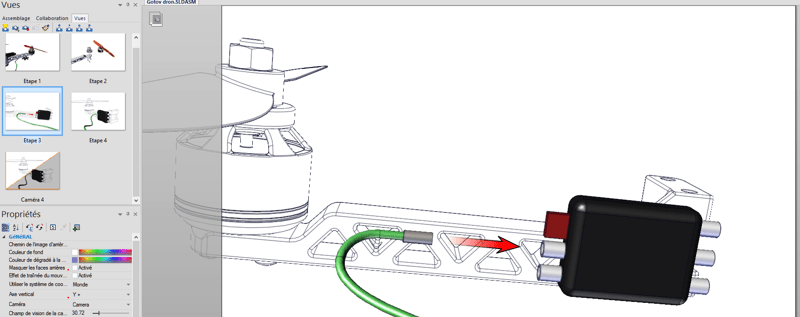
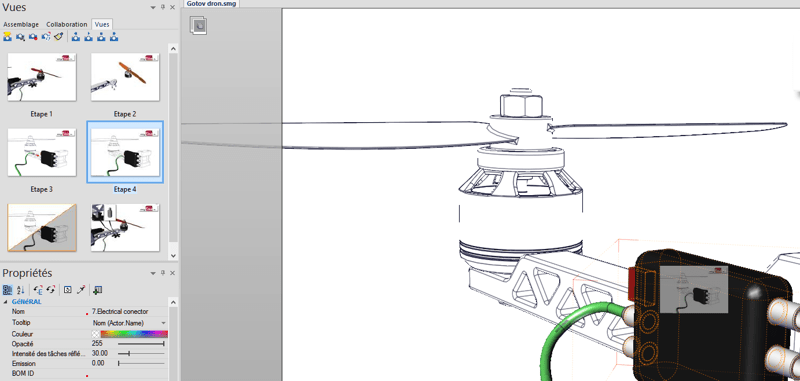
Function 5: Create camera views
SOLIDWORKS Composer's "general" views save actor positions and properties, viewport properties, camera position and zoom.
On the other hand, creating a camera view saves only the model's orientation and zoom. This can be useful if you want to orientate several views identically.
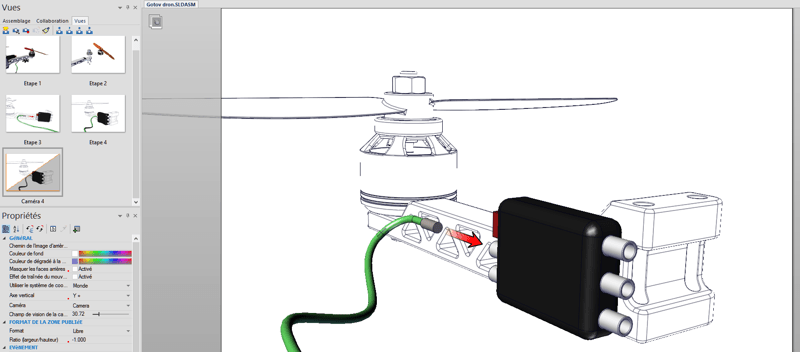
To obtain the same orientation between step 4 and step 3, you need to create a camera view after activating step 4 in the Viewport.
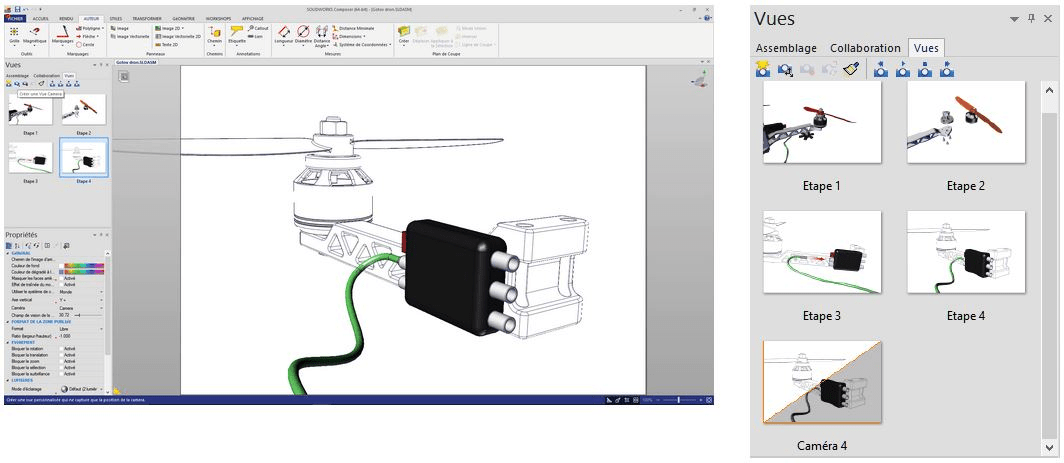
Next, activate step 3 and double-click on the camera view. In this way, step 3 is oriented in the same way as step 4. Simply update step 3 in this new orientation.
Function 6: Part or assembly selection
To select an actor, click on it with the left mouse button. A sub-assembly can be selected in 3 different ways:
Click on an actor, then use the left arrow key to move up one level.
Hold down the ALT key and select an actor.
Activate the subset selection tool.

Note that an actor's neutral position is his position relative to his superior level.
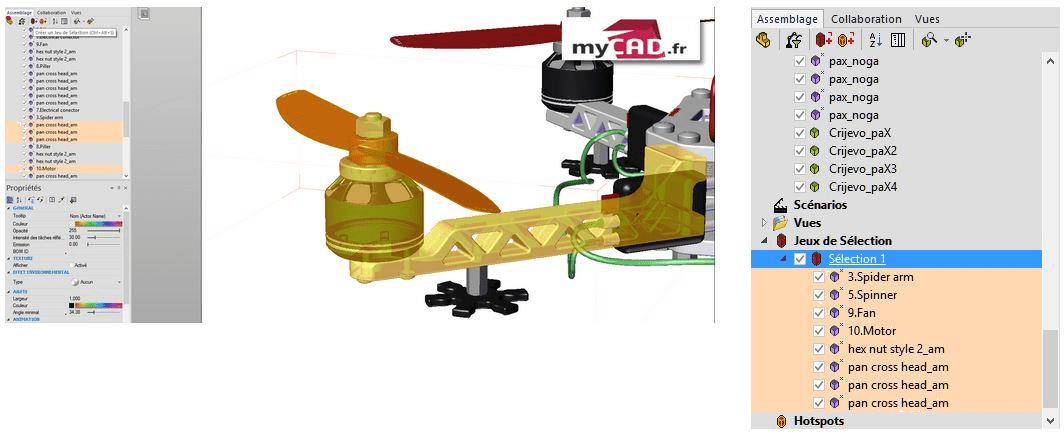
Function 7: Selection sets
Selection sets allow you to group together parts that are not already grouped together in the assembly tree. This can be useful if you wish to move a group of parts, repeatedly, whose selection can only be made by selecting them one by one.
To create a selection set, select the actors and click on the "Create selection set" icon.
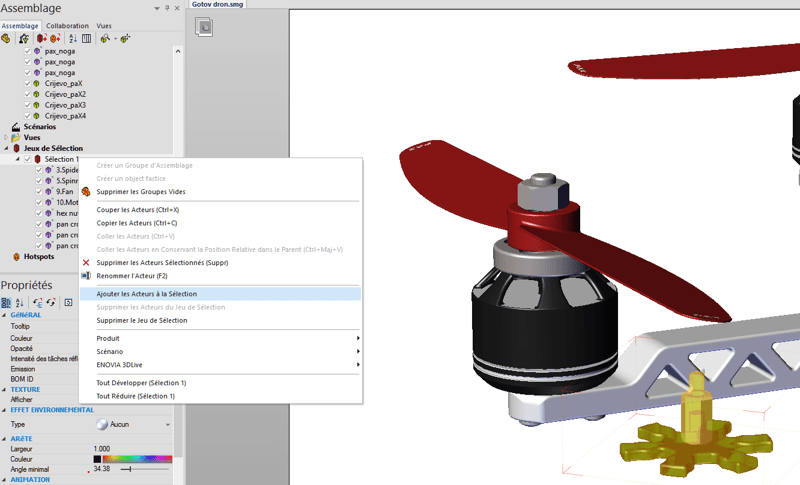
To add actors to the selection set, select the actors you wish to add, then right-click on the selection set -> "Add actors to selection".
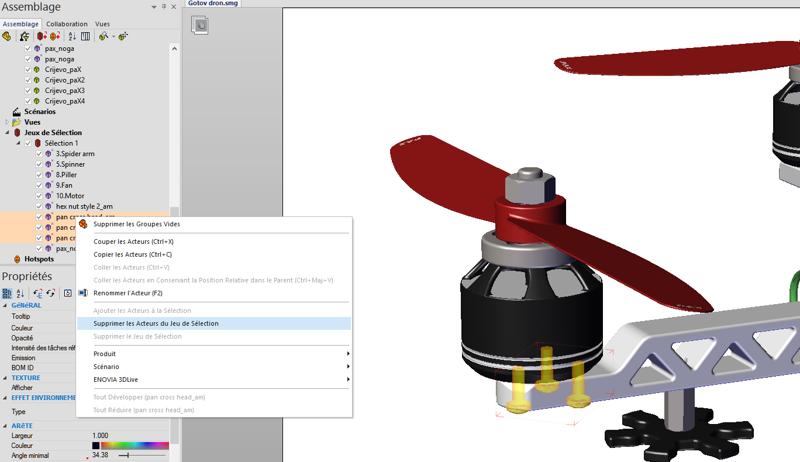
To remove actors from the selection set, select the actors in the selection set, then right-click -> "Remove actors from selection set".
Function 8: Detail view
In the "High Resolution Image" and "Technical Illustration" Workshops, it is possible to generate detail views. For better visualization of parts, it is possible to isolate actors in these detail views.
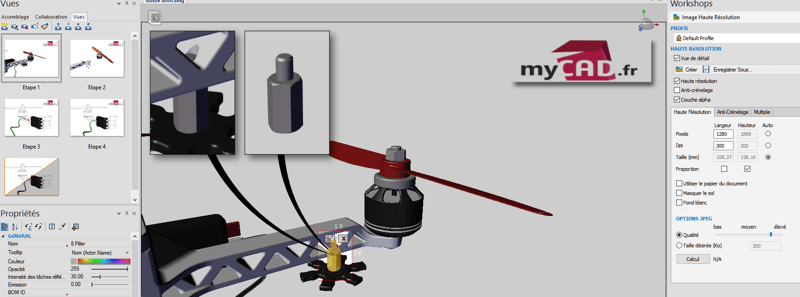
After checking "Detail view" in Workshop, define the area to be captured, then select the actor you wish to isolate. Then click on "Create". Only the selected actor will be visible in the detail view.
Function 9: Create a link
In SOLIDWORKS Composer, you can add interactivity by creating links on actors. These links can, for example, be used to change view when an actor is clicked (in the player). There are 2 methods for creating this link.
1st method: First, select an actor. Then, without its properties in the event section, click in the link zone. Finally, enter the URL you wish to follow.
2nd method: Select the actor you wish to link to. Then simply drag and drop the view you wish to link to it, while holding down the CTRL key.
Function 10: Tab key
To help you select actors hidden by others, you can use the TAB key. This temporarily hides the actors beneath your mouse cursor.
