") Maxime CASIER
Maxime CASIER Precise drill hole definition in CATIA 3DEXPERIENCE
Discover how to precisely define a hole in CATIA 3DEXPERIENCE
Maxime CASIER 
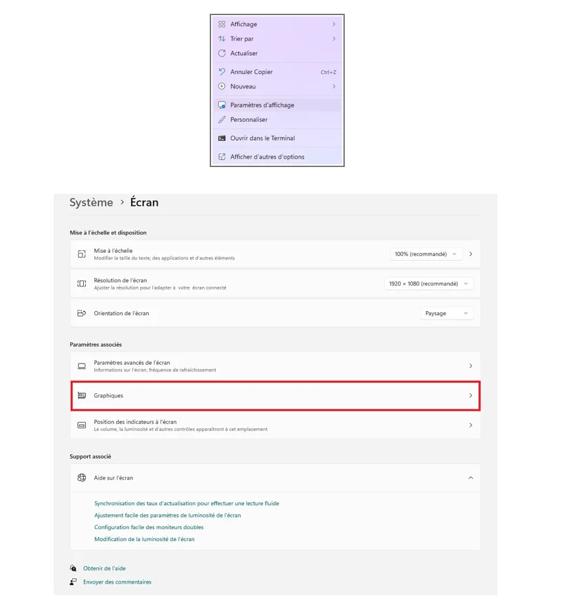
On the Windows desktop, right-click > Display settings. In this window, go to Graphics.
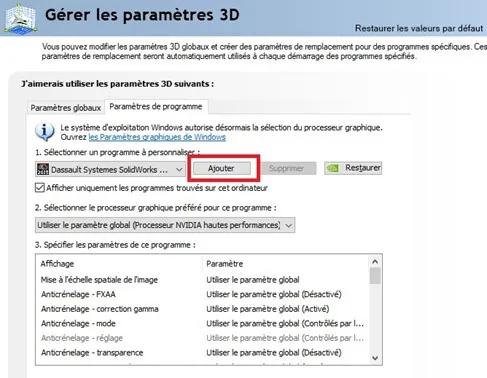
Click on Add a desktop app.

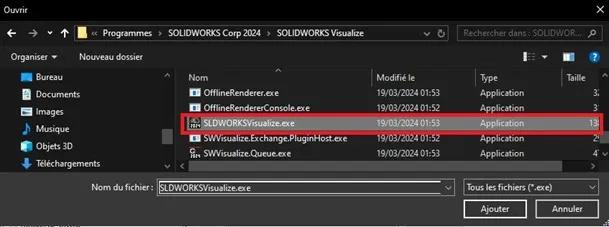
In the new window, click Browse and locate the SolidWorks Visualize executable.
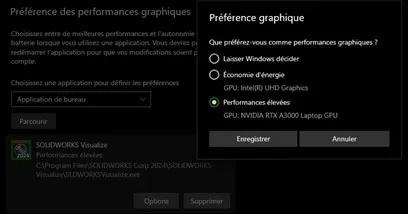
Finally, click "Options" and check "High performance", then click "Save".
Warning: Also make sure your screens are physically connected to the graphics card.
We also recommend contacting your IT department to set your graphics chipset to "discrete mode" in the PC BIOS, so that the graphics card is used permanently.
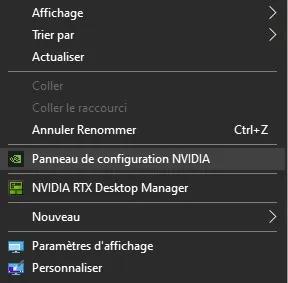
On the Windows desktop, right-click > NVIDIA control panel.
In the "Program Settings" tab, add the SolidWorks Visualize executable.


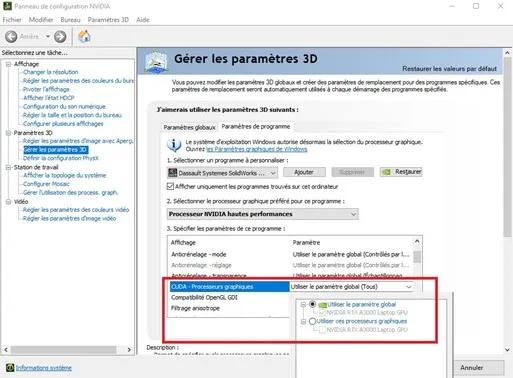
In "Program Settings" then "Select the preferred graphics processor for this program", select "High-performance NVIDIA processor".
In "Program Settings" then "CUDA – GPUs", verify that only the certified graphics card is checked.
In "Program Settings" then "OpenGL GDI compatibility", select "Prefer compatibility".


Dans « Paramètres de programme » puis « Mode de gestion de l'alimentation », sélectionnez « Privilégier les performances maximales ».
Dans « Définir la configuration PhysX », sélectionnez la carte graphique certifiée.
To check the version of your graphics card driver, visit the site https://www.solidworks.com/support/hardware-certification/.
If your graphics card driver is more recent than the one certified by the publisher, contact your IT department to uninstall it and install the certified one.
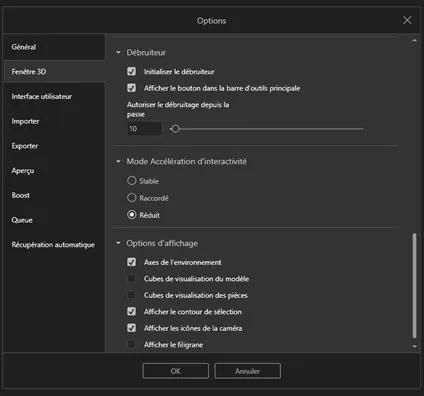
We recommend enabling the "Denoiser" option, which helps improve rendering time. You will find it in the interface via an icon and in Tools / Options / 3D Window / Denoiser.
In the Control Panel, go to "System"
Click on "Advanced system settings"
Click the "Settings" button in the "Performance" section.
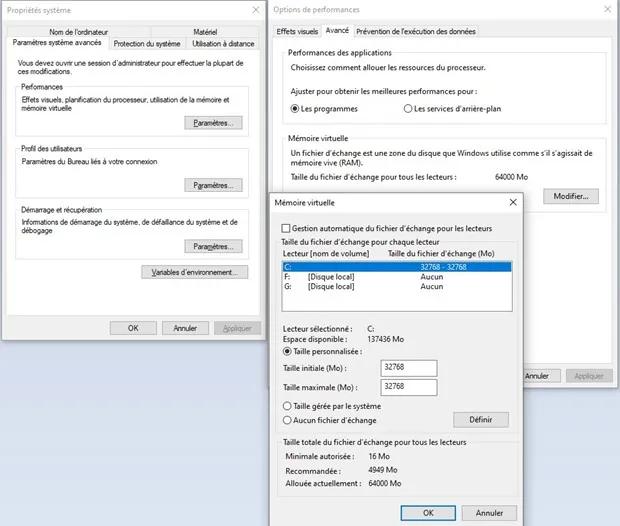
In the "Advanced" tab and the "Virtual memory" section, click "Change"
In "Initial size" and "Maximum size", enter double the maximum of your capacity (1024×2×16 for 16 GB of RAM).
Click "Set" then click "OK"
Restart your workstation.
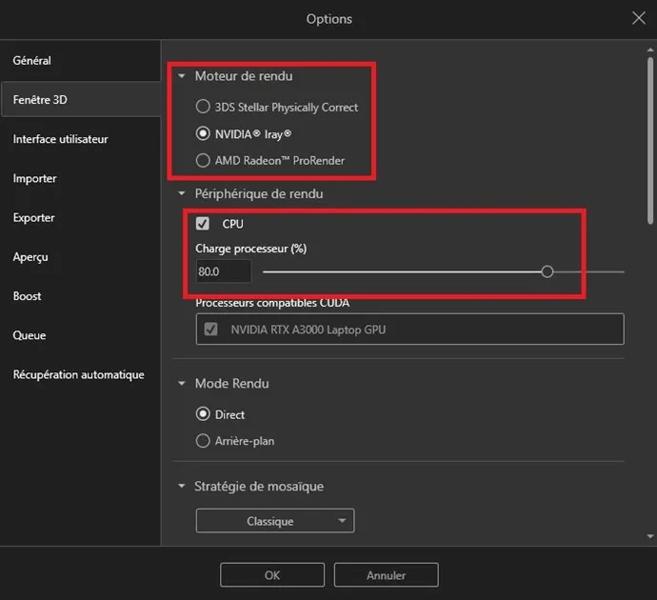
If you still experience instability or performance issues despite applying the previous settings, it is recommended to change the render engine in Tools / Options / 3D Window / Render Engine and increase the processor load to 80% if you select NVIDIA Iray.
 Maxime CASIER Maxime CASIER Maxime CASIER