") Maxime CASIER
Maxime CASIER How do I design a spring with SOLIDWORKS?

Create a circle in the basic sketch
First, you need to create a circle in a SOLIDWORKS sketch. This will define the starting diameter of the propeller. There are 2 ways of doing this:
a) Open a sketch
Sketch a circle
Select a plane and open the sketch
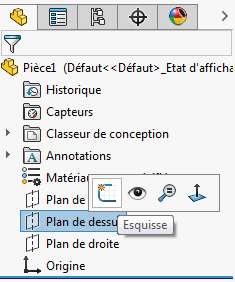
Create a circle with the starting diameter of the helix (neutral fiber)
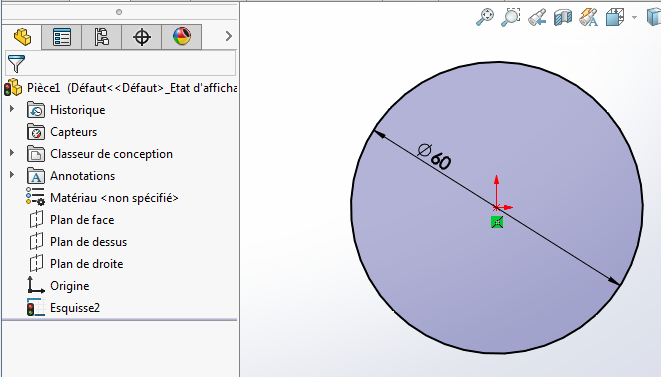
b) Or use an existing sketch containing a circle.
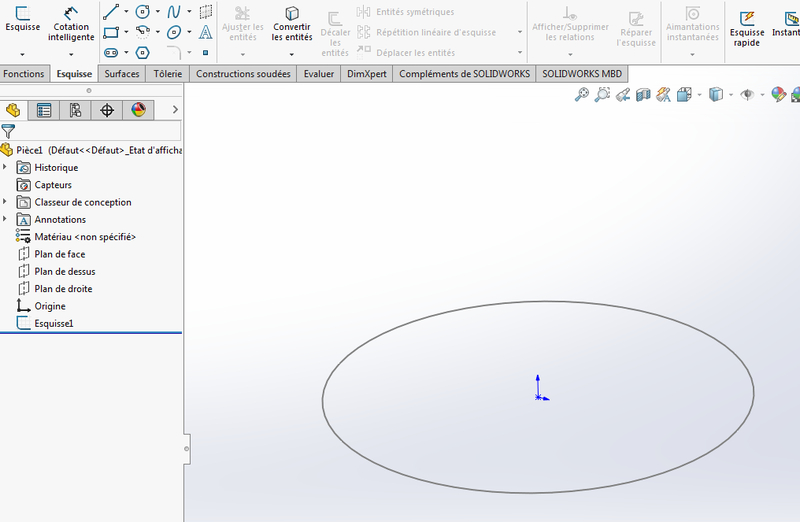
Design a propeller using the helix/spiral function
Next, you need to create a propeller. To do this, you need to :
Click on Helix/spiral (curve toolbar) or Insertion menu > curve > Helix/spiral
Select the sketch to access the PropertyManager, if you haven't already done so:
PropertyManager options
In the PropertyManager, we'll select the option :
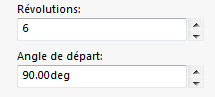
Defined by > Height and Revolutions
to create a helix defined by its height and number of revolutions.
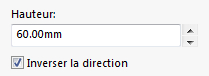
Then in Parameter, you can define the parameters of the helical curve. Depending on the selection made in "Defined by", the content of the parameters differs.
In our example, we choose a constant pitch.

We can also define the total height of the spring and its direction.


When choosing the number of revolutions and the starting angle of the curve on the base circle, the number of revolutions is not necessarily a whole number.


Then there are labels in the graphics area for entering parameter values.
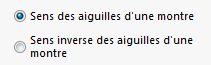


The direction of the turns is either clockwise or anti-clockwise; for our example, we've chosen clockwise.
You can also create a conical helix by entering an angle in the field below.
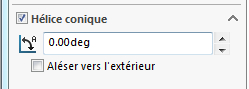


In this example, we won't use this parameter, so you can uncheck the option.
Once the values have been entered, we can validate the function.
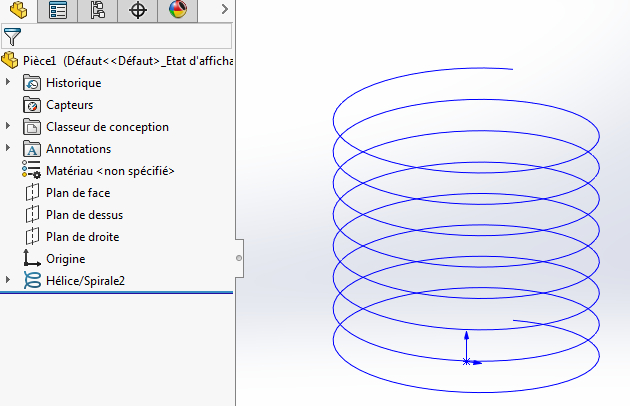
The propeller is now created!
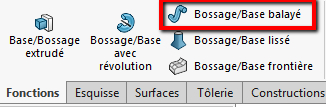
Drawing a SOLIDWORKS spring using the sweep function
Finally, you can draw a spring using the sweep function. To do this, you need to :
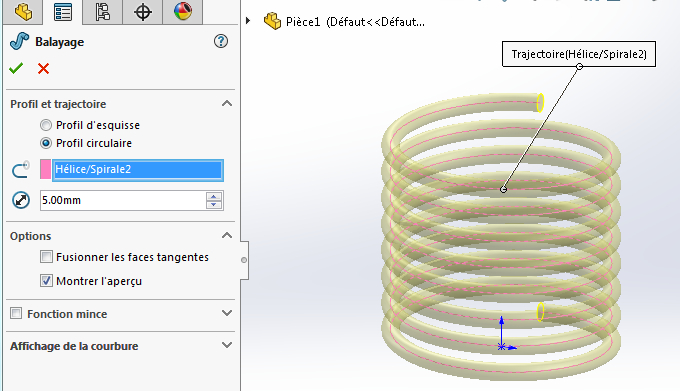
Select the Swept Boss/Base function in the functions tab, or via the menu Insertion > Bosses/Base > Sweep ...
The following PropertyManager is displayed. Select the parameters shown below:
The Thin Function option creates a hollow helix (tube).
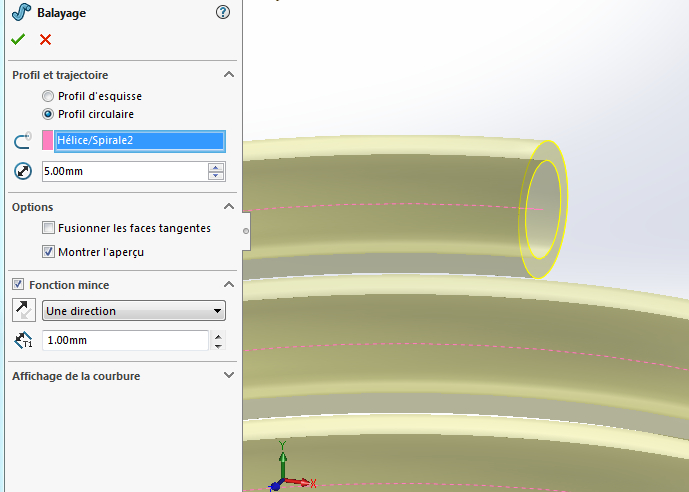
The direction determines the position of the tube's material thickness. It can be "internal" or "external" in relation to the base diameter of the circular profile.

We won't be using this option for our example.
Finally, once you've chosen your parameters, you can validate the function.
The result is a constant-pitch coil spring defined by its height and number of revolutions.
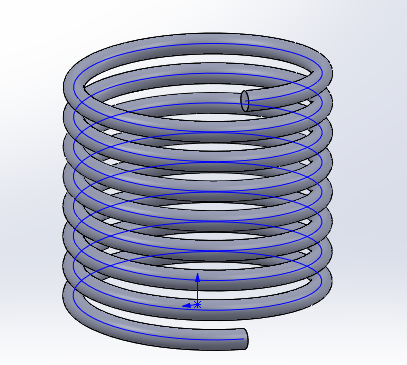
In conclusion
This example shows how to create a simple spring with SOLIDWORKS. It is possible to combine profiles to create more complex springs. It is also possible to create springs with wire profiles other than cylindrical.
Please note, however, that springs are very resource-intensive, so avoid using them in complex assemblies!