") Maxime CASIER
Maxime CASIER How do I create symmetry in a SOLIDWORKS assembly?

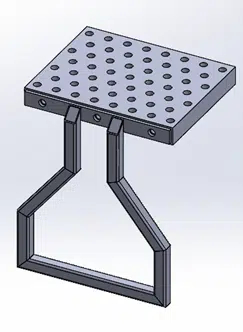
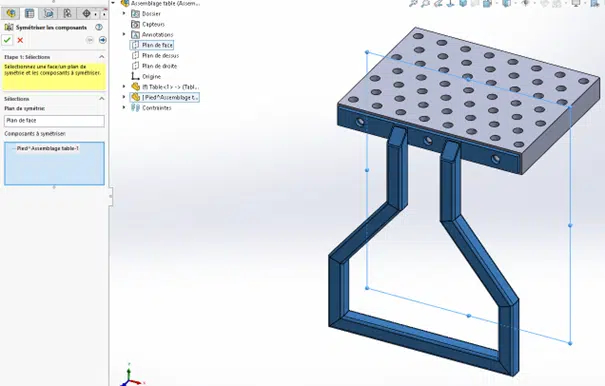
Initial situation
We have constrained the left-hand side of this assembly on SOLIDWORKS and would like to save time by doing the same on the other side.
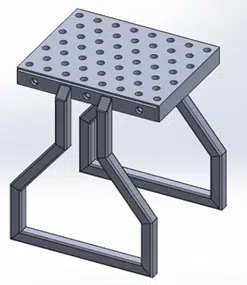
Objective
Create foot symmetry in the assembly:
Steps to follow
Tip : Make sure you create parts with centered planes to avoid adding extra planes.
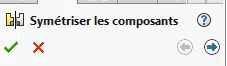
After assembling the left part, go to the Assemble -> Linear Repeat Components -> Symmetrical Components tab.
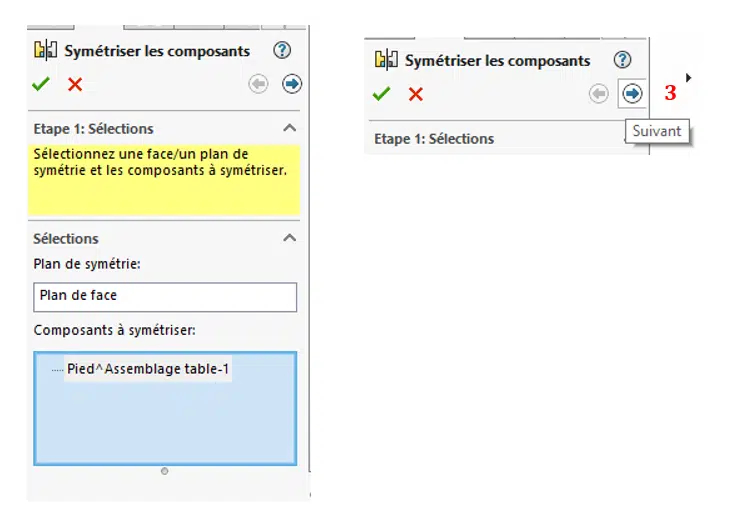
Select the plane of symmetry, then the component(s) to be symmetrized. In our case, the plane of symmetry is the front plane.
To access other position options, click on the blue arrow :
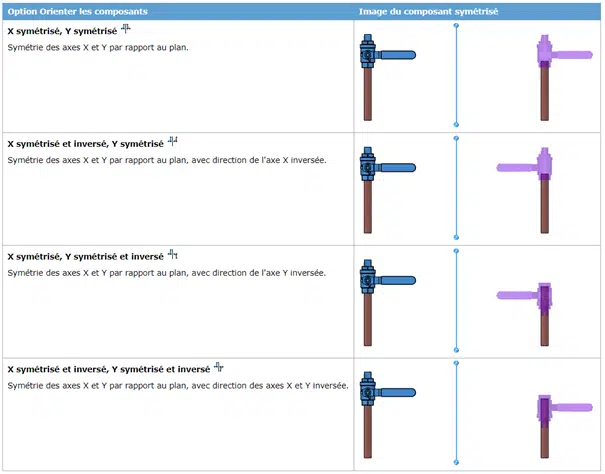
Selecting the orientation of parts to be copied symmetrically :
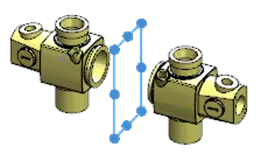
To create a new symmetrical part, use this icon :

In our case, the simple copy of the part and the 1st orientation is the right one:

Validate symmetry :