") Maxime CASIER
Maxime CASIER How to manage a SOLIDWORKS design history

Our expert explains how to keep a history of the 3D model and drawings linked to your project, so that you can access the correct version directly. We'll see that there are several solutions for managing a SOLIDWORKS design history.
The 3 methods and their limits for managing a SOLIDWORKS design history
When you're evolving a product, you can save your drawing files in PDF format or as a detached drawing (which desynchronizes the drawing from its 3D model) and continue working on the 3D model.
But if you need to modify or evolve a previous design, this method reaches its limit: you'll have to modify your SOLIDWORKS files in order to go back, and then start work again. You will therefore lose a lot of time.
A. Duplicate your working directory
Acting globally has a number of consequences:
The creation of duplicates (files with the same name but in a different directory), which introduces the risk of working on a part file in the wrong directory.
From the file's point of view, this complicates the part's use case
This increases the volume of CAD file storage.
B. Create a zip
To avoid working on a duplicate file, it is possible to create a zip: this locks the project at a certain stage of the design process. But a file with the same name will have a different content if it evolves! So, as soon as we "unzip" to go back to an earlier version, we have to rename folders through File Explorer or delete them. This increases the risk of losing files!
C. Using SOLIDWORKS functions
Careful use of the 3 functions "Pack and Go", "Save as" and "Rename" will solve the problem of file management as a project evolves. In effect, you'll select only those 3D/2D files that need to be modified when the time comes. In this way, you can keep files in their original state and access the modified version of your project without fear of duplication. Finally, the names given to files are rarely the right ones from the initial design stage. So, rather than having a multitude of files with different geometries all called "platinum" from one project to the next, try to discriminate them by a serial number linked to the case or project number. With this in mind, the "Rename" function will provide you with the solution within your open assembly in SOLIDWORKS.
The limit of these methods lies in the precision of the designer's work:
the risk of overwriting CAD documents under the original name
The loss of links between files
That's why there are more rigorous solutions to support you.
Case study in file management using SOLIDWORKS functions
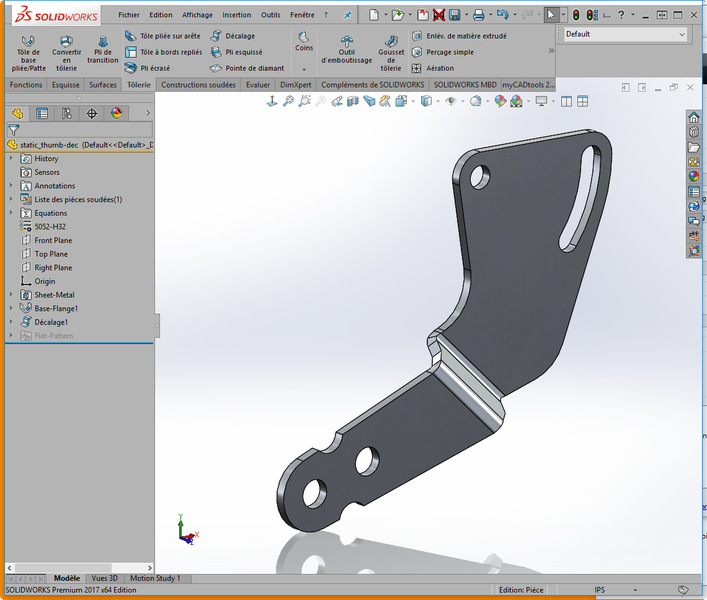
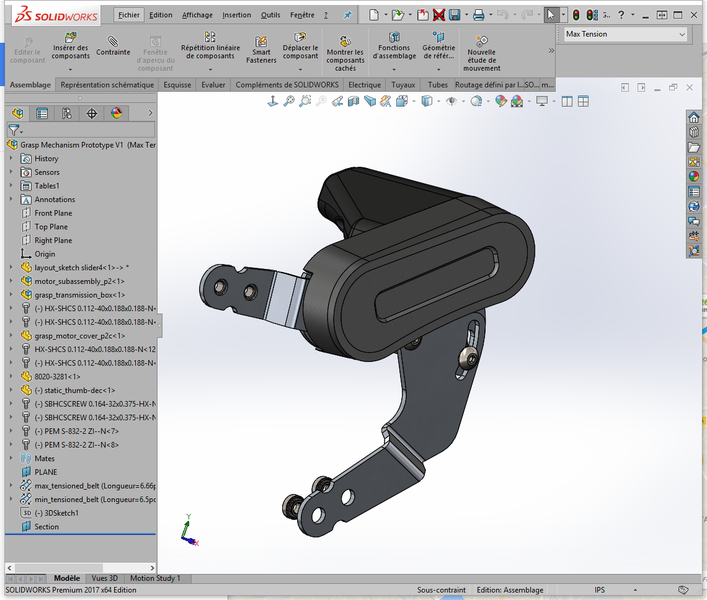
In this practical case, the motorized system must be modified: its thumb-holding tab must be shifted by 5mm.
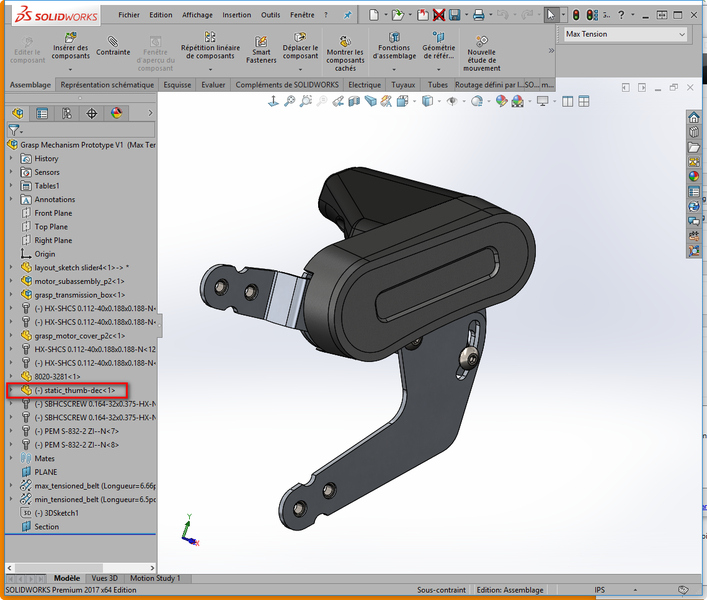
The designer must prepare the files to be modified:
Assembly and drawing
The leg and its drawing
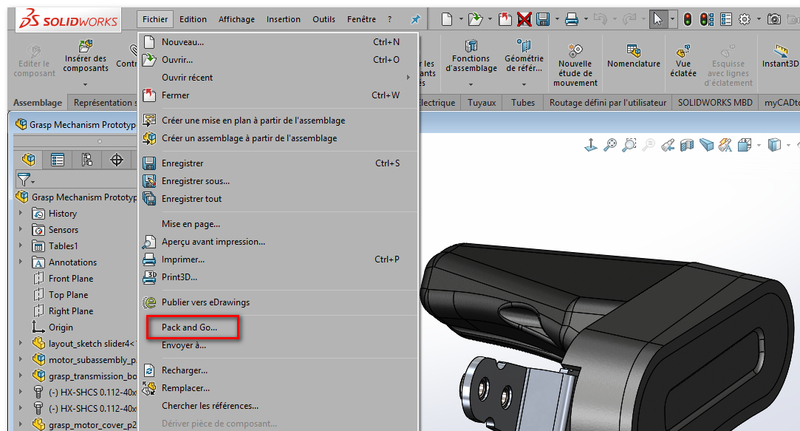
To keep both versions of his project, he uses Pack and Go (this operation can also be performed from SOLIDWORKS Explorer).
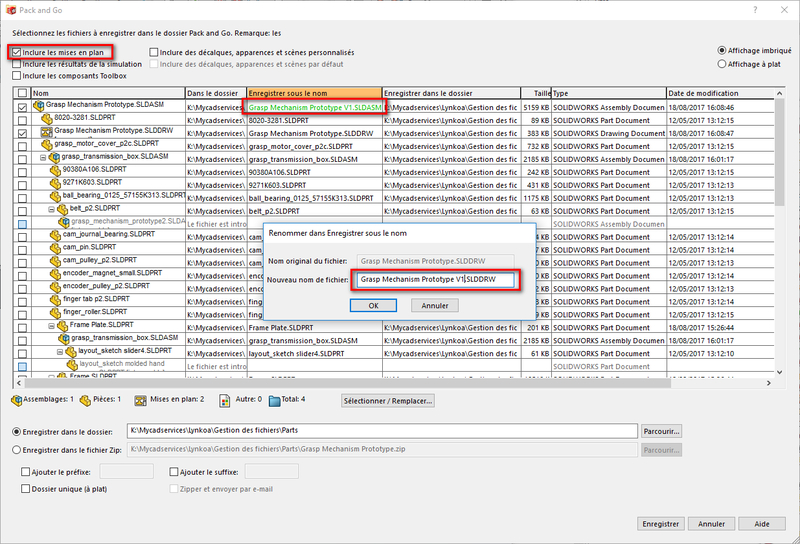
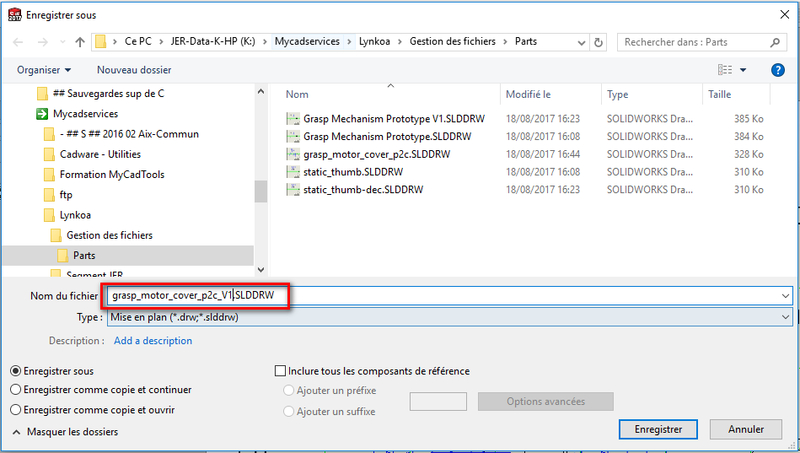
First, he checks the option to include the drawings and 3D/2D documents to be modified.
Then, he renames these files. In this way, the evolution of the parts will be taken into account by the evolution of the assembly.


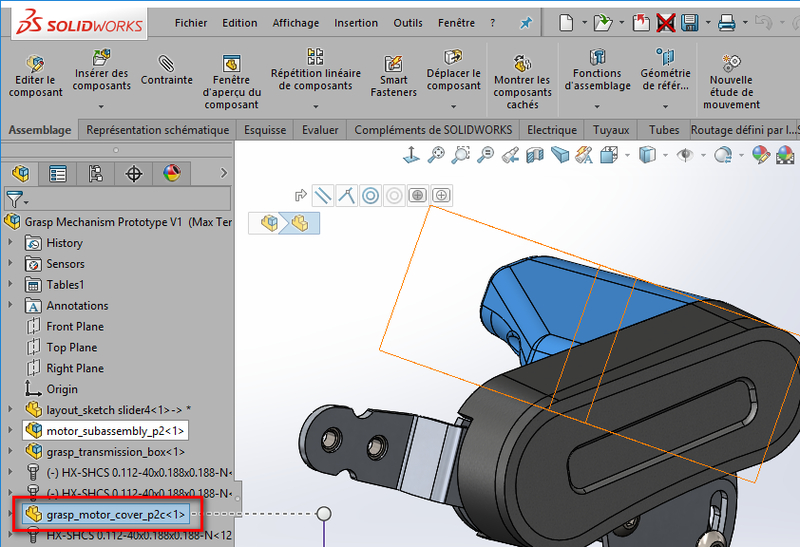
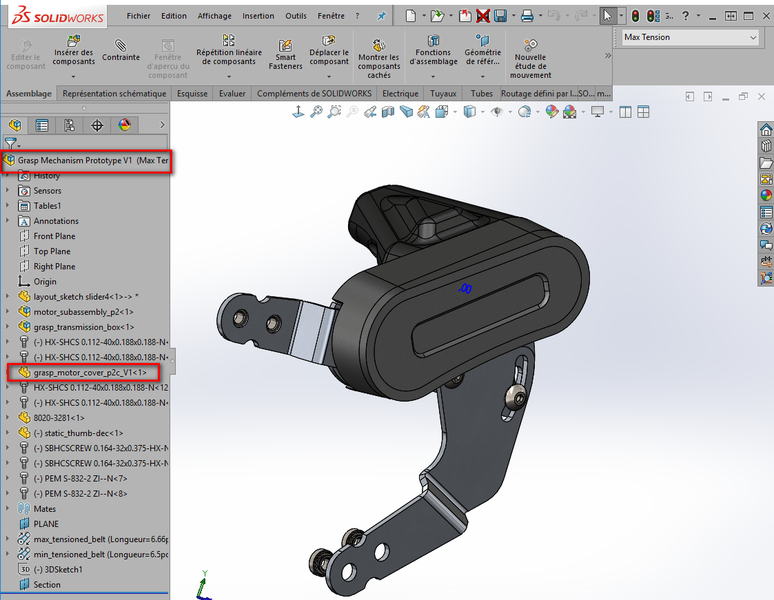
The designer then opens the duplicated assembly to make the modifications.
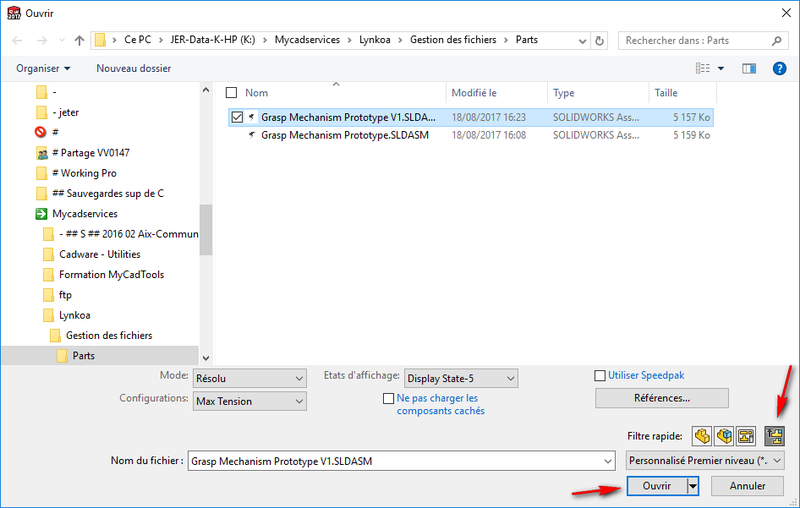


This shows that the original file has been replaced by the new file name.
The designer then modifies the part.
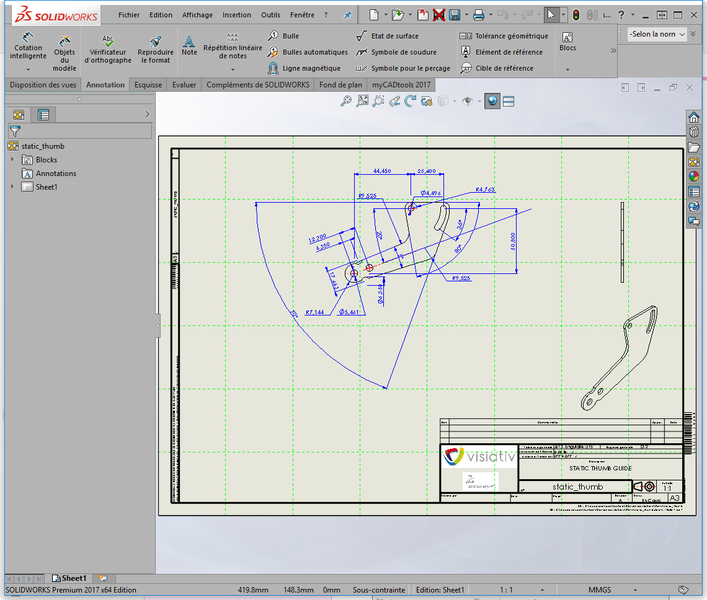
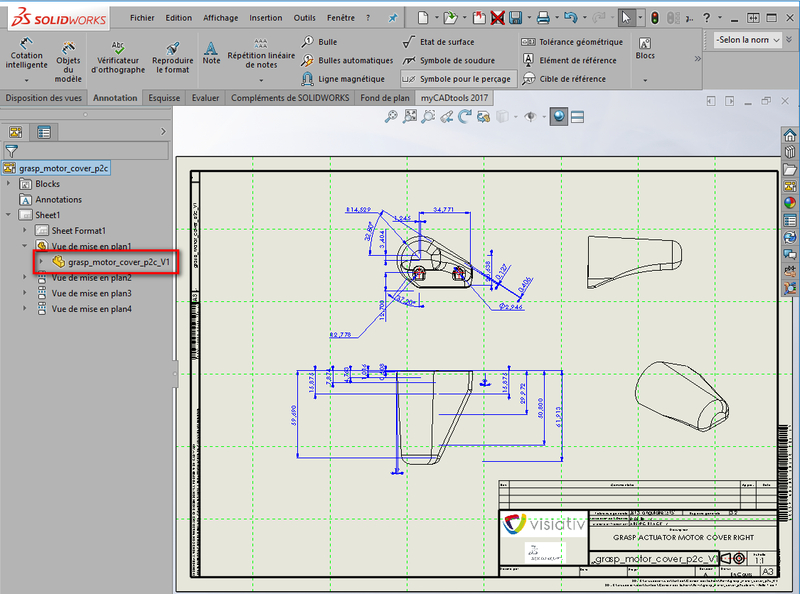
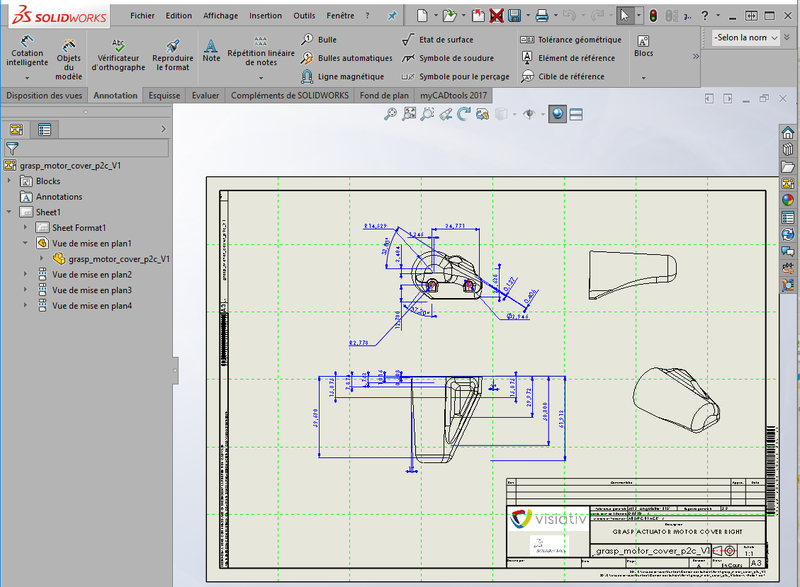
Then he opens the drawing.
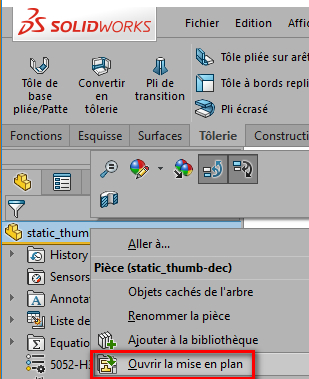


This refers to the modified part.
And the initial drawing corresponds to the original document.
The designer then returns to the modified assembly.
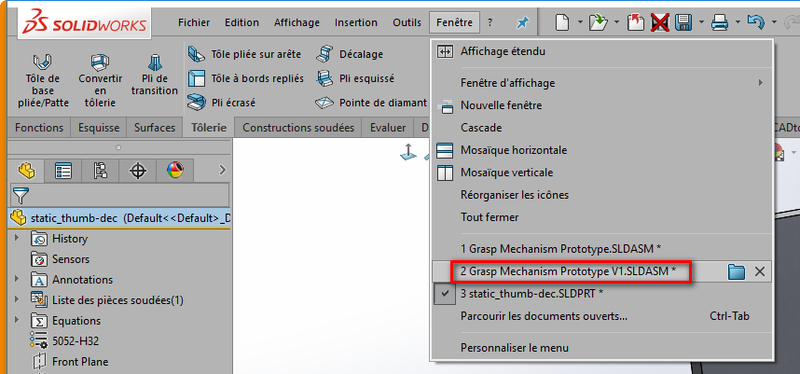
We see that it's updated and that it refers to the modified part.
Then, if the designer needs to modify another part he hadn't thought of... He opens it.
And use the "Save as" function.
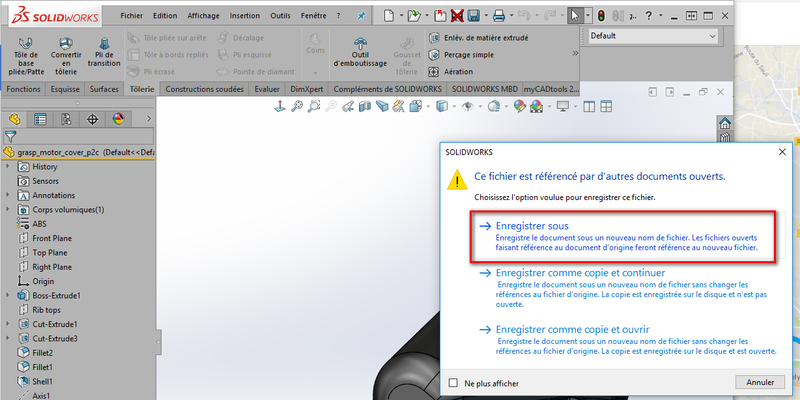
If the drawing of the part to be modified is open, the name change will take place automatically. If this is not the case, you will need to replace the name by right-clicking on a view in the drawing.
Note: Name changes made via the "Save as" function are applied to all open referenced documents. This is why you must be careful to close the original assembly, or not to save it, otherwise it will also contain the modified name!
If the drawing had not been opened, it would refer to the old 3D model.
The designer could have :


Then save the drawing with the new part name (for traceability).
Once the links between the 3D and the drawing have been established, the designer can carry out modifications.
The assembly is updated.
Since the designer has kept his documents correctly referenced, he can access both versions of his project.
Complementary solutions for managing a SOLIDWORKS design history
We have already shown you an example of file management using SOLIDWORKS functions. However, this method requires a great deal of rigor on the part of the designer to avoid naming errors and lost links between files.
That's why, in addition to explaining this method to you, we recommend that you use these 2 alternative solutions to manage your design histories:
SOLIDWORKS PDM data management tool
ProjectManager tool from the myCADtools suite (available in the MyCADservices Premium suite)
File management and collaborative working
Finally, it is possible to work collaboratively on the same files. To do this, team members must activate the mode in SOLIDWORKS.
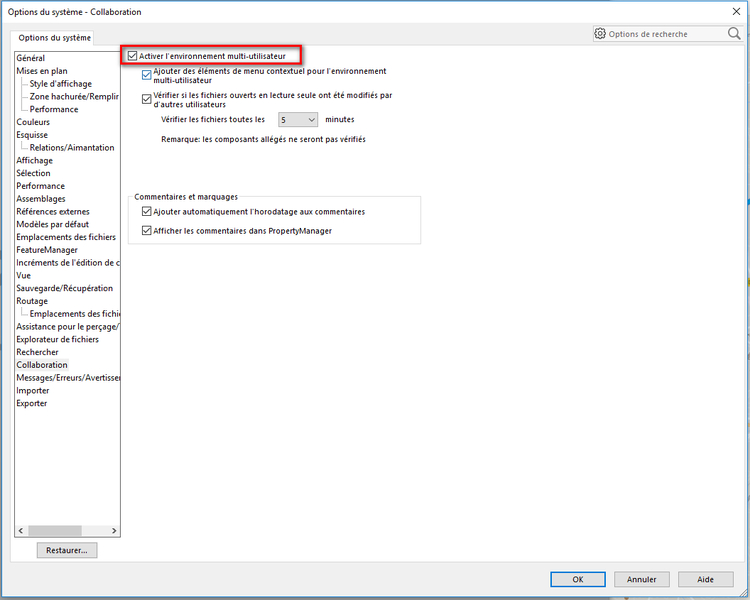
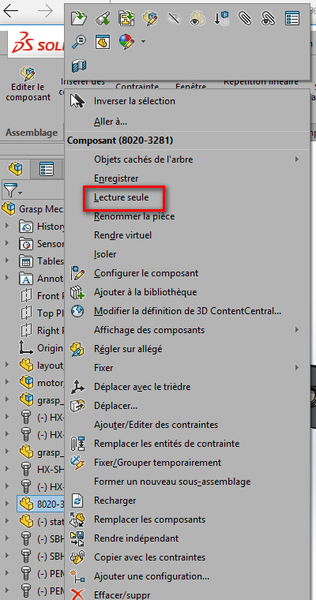
Next, the designer must set himself up as "read-only" on the file(s) that his collaborator needs to modify in parallel. As the product evolves, each will switch to the other's request.


In conclusion
It is perfectly possible to manage a SOLIDWORKS design history with SOLIDWORKS software. On the other hand, the quality of the documentation is closely linked to the rigor of the users, and implies risks: overwriting of files, loss of links between files...
This is why the best solutions for managing a SOLIDWORKS design history remain :
A technical data management tool such as SOLIDWORKS PDM. With SOLIDWORKS PDM, the designer simply follows the rules written in the workflow, and doesn't have to intervene when it comes to modifying file names and links.
The ProjectManager tool from the myCADtools suite (available in the MyCADservicesPremium suite).