 Maxime CASIER
 SOLIDWORKS realistic rendering: how to improve rendering quality with SOLIDWORKS Visualize

First of all, it's important to remember that creating a realistic SOLIDWORKS rendering is similar to taking a photograph: one of the most important factors is light!
Light helps to bring out the details of the model. What's more, good lighting adds contrast, enhances realism, focuses attention on an area and magnifies certain materials.
Die SOLIDWORKS-Szenen
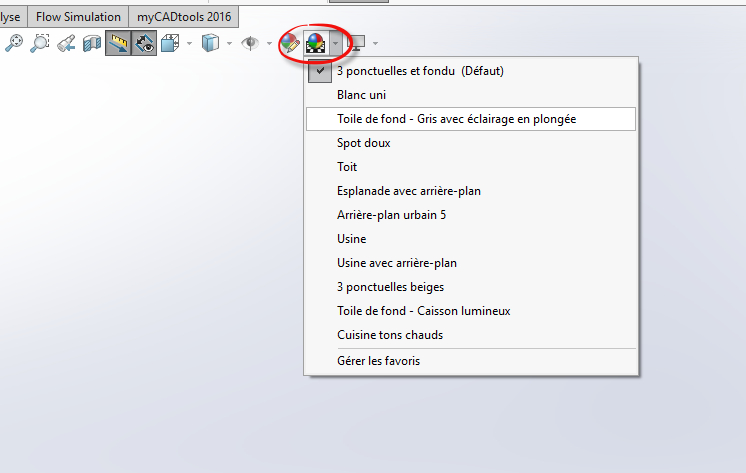
In SOLIDWORKS, you have access to a number of pre-configured environments. These are available via the heads-up display in the graphics area.
Environments can also be found in the task pane.
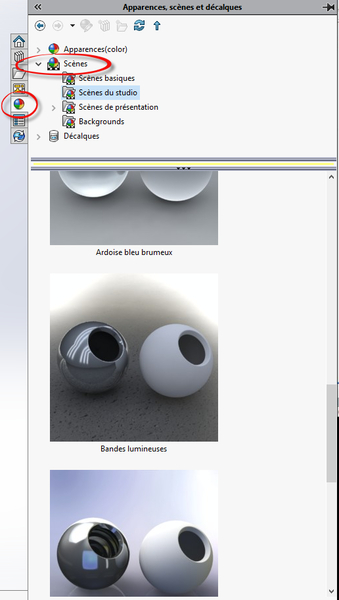
SOLIDWORKS scenes can be used to modify the spherical 3D environment around designs. This includes an HDRI image, which generates light and a floor (reflective or not).
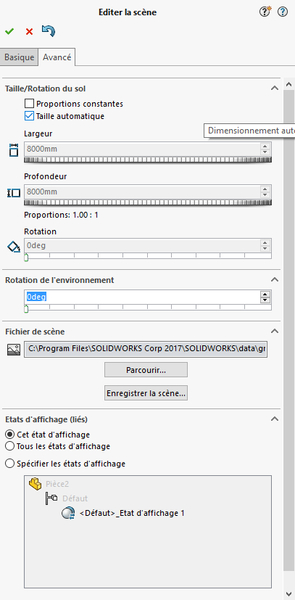
Editing SOLIDWORKS scenes
In SOLIDWORKS environments, the following parameters can be modified:
Reflection
Flattened ground
Ground position and height in relation to the model
Creating a scene in SOLIDWORKS
To simplify and speed up the realistic rendering process, it's a good idea to create your own studio from scratch. The advantage is that you can use this element at will and have complete control over the images generated.
To design a simple studio, here's a reminder of the basic principles
The studio consists of a background and lights. The lights need to be judiciously positioned to illuminate the subject correctly.
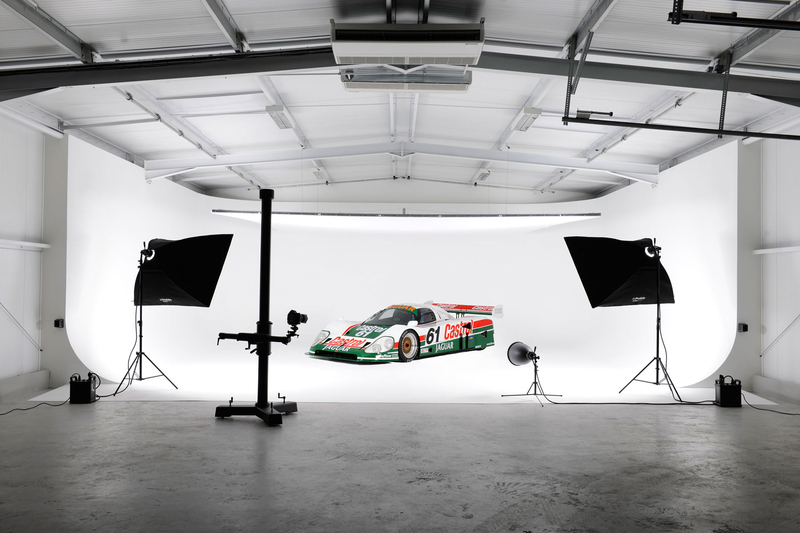
Here are some examples of the effects of light on an object:
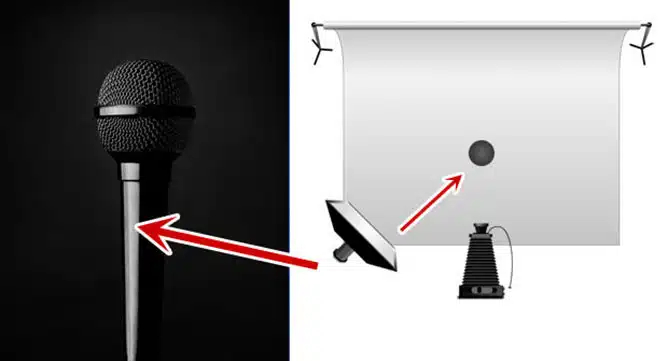
Main light
Illuminates the model. This light is essential for rendering and could be used on its own.
Fill light
This subject doesn't require it, but we could add a fill light. Its role is to fill in the shadows. It can be used to adjust the contrast of the rendering.
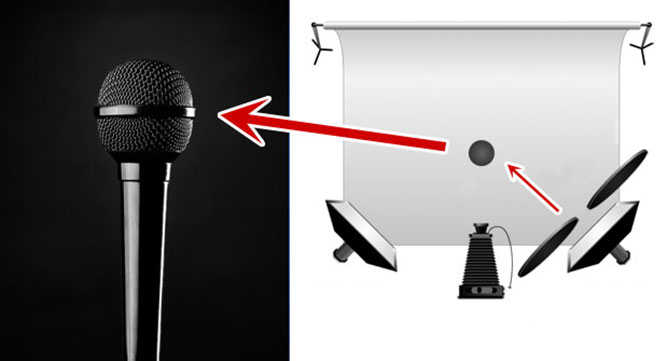
Contouring light
This detaches the object from the background and creates a specular reflection. It can even be positioned behind the model to make it stand out even more from the background.
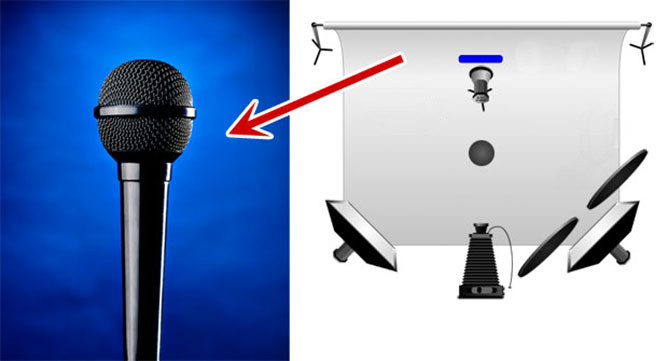
Background light
Used to "work" the background of your image. It has no effect on the model.
With these examples, it's easy to understand the impact of light on the final image.
How do you create your "Studio" in SOLIDWORKS?
By modeling it yourself!

In this example, the two plates can be positioned at the end of 3D sketch lines for easier handling.
Next, simply apply a "Luminous Surface" appearance to the plates. Then adjust the light output and position.
Finally, all that's left to do is position the object in the studio and set up a camera.
1 Main light 2 and 3 Fill and background light
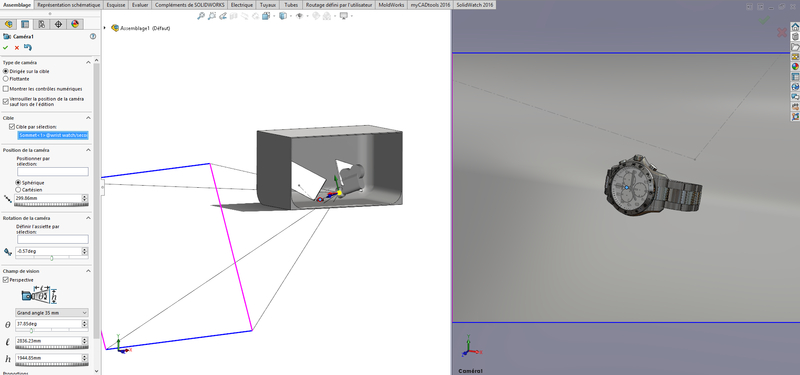
Then simply launch the rendering with PhotoView 360 (included with SOLIDWORKS 3DEXPERIENCE Professional).
In the photos below you can see :
With main light only
With fill light
Final rendering
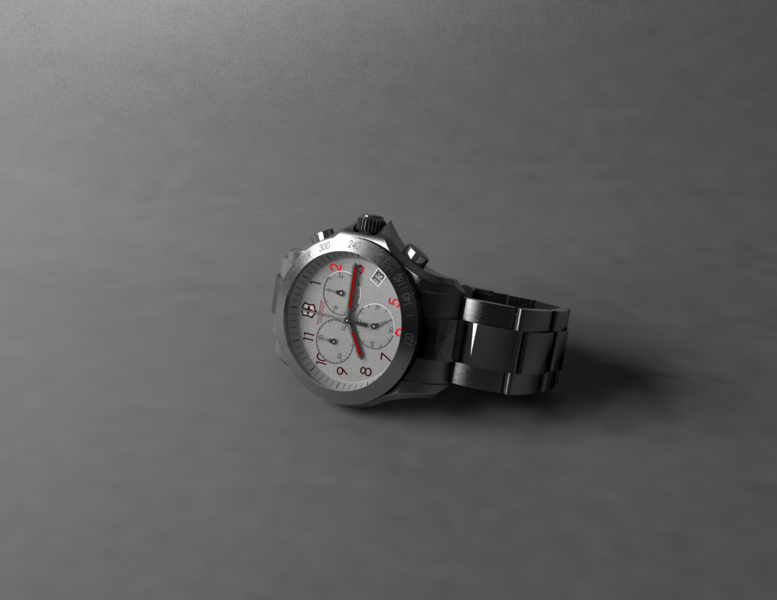


SOLIDWORKS Visualize scenes
To avoid tying up your SOLIDWORKS license when using PHOTOVIEW 360, we suggest you use SOLIDWORKS Visualize Standard, available with SOLIDWORKS Professional. SOLIDWORKS Visualize lets you use virtual environments for rendering. In fact, it integrates a number of environments already available for use.
Note: the studio created in the previous step can also be used in SOLIDWORKS Visualize.
Basic environments are available in SOLIDWORKS VISUALIZE, but additional environments can be downloaded by clicking on the planisphere in the top right-hand corner.
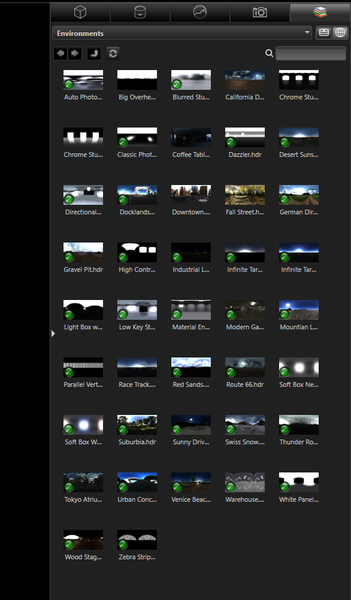
Editing SOLIDWORKS Visualize scenes
Once you've chosen your environment, you can modify certain parameters.
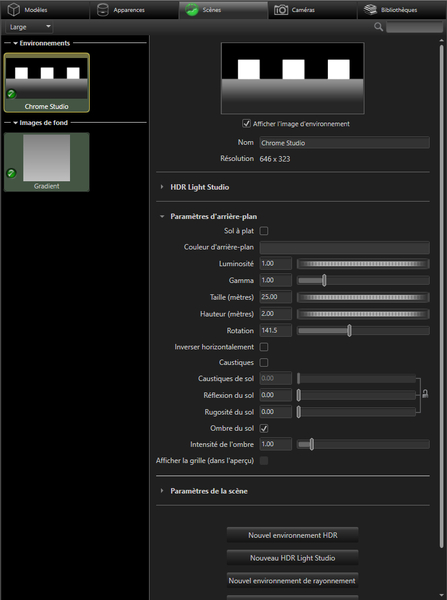
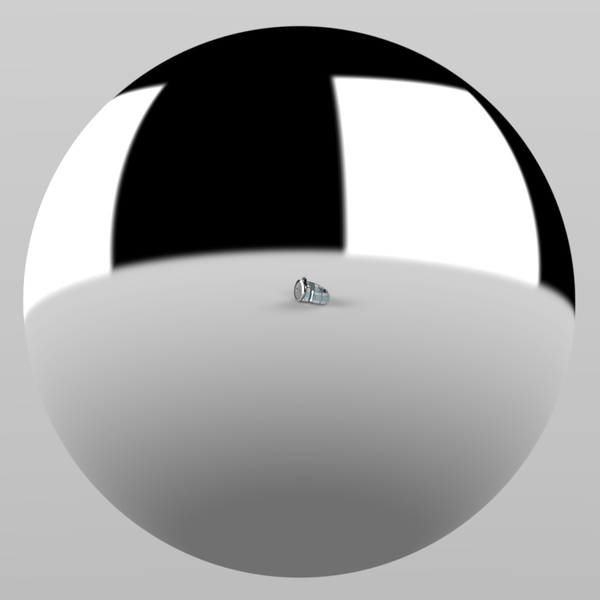
Size and height can be used to reduce the size of the environment sphere:
Rotation allows you to vary the position of the light sources in relation to the model
Angle 0
Angle 45
Angle 90
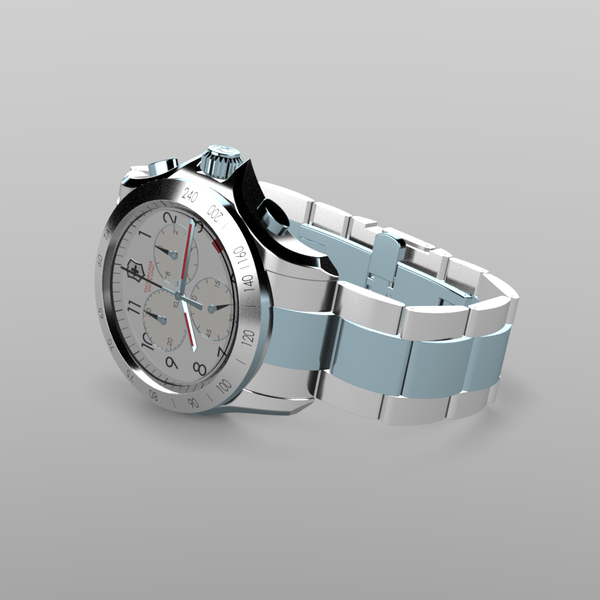


It is also possible to :
activate a reflection
adjust the roughness of the floor to modify the reflection
adjust the intensity of the cast shadow (example with intensity 2)
set the intensity of the cast shadow (example with intensity 10)
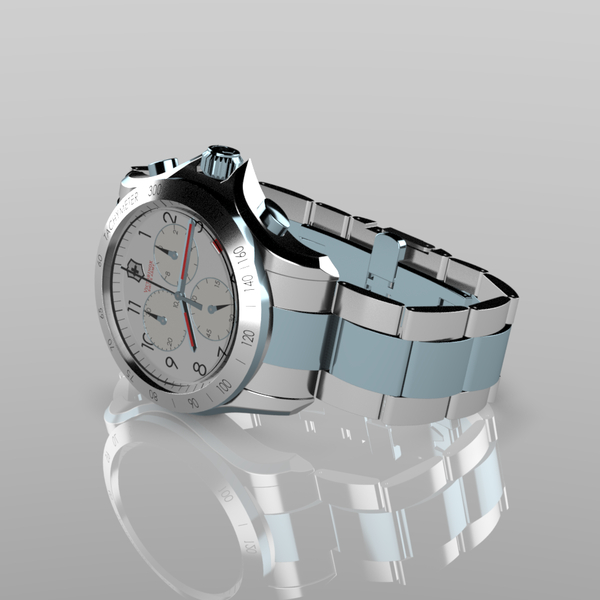


Let's change our environment to understand the impact on our model:
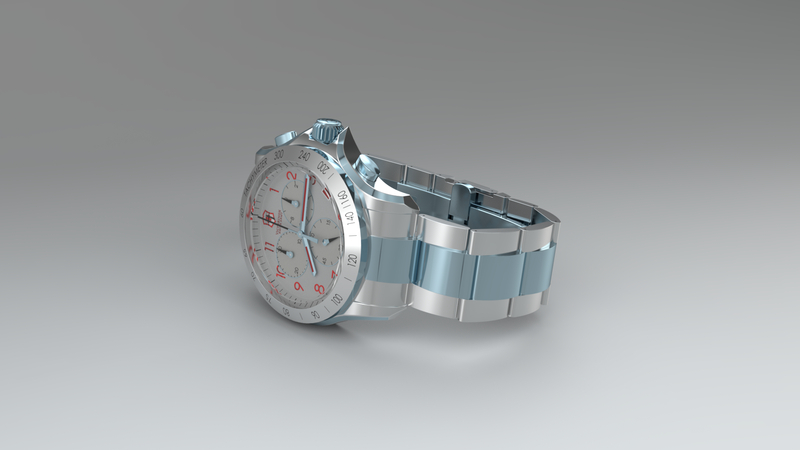
Overview Hdr Light Studio
The HDR Light Studio solution gives you total control over the position of lights in the environment. This software allows you to edit SOLIDWORKS Visualize environments and/or create your own.
It has the advantage of being able to interact dynamically with SOLIDWORKS Visualize. This avoids fumbling to get the right reflections on the model. In this way, SOLIDWORKS Visualize's real-time rendering comes into its own, offering real flexibility.
It is possible to create an HDR Light Studio environment from the SOLIDWORKS Visualize interface (provided it is installed on the workstation):


By default, HDR Light Studio generates a gray gradient background. Here is the result in SOLIDWORKS Visualize :
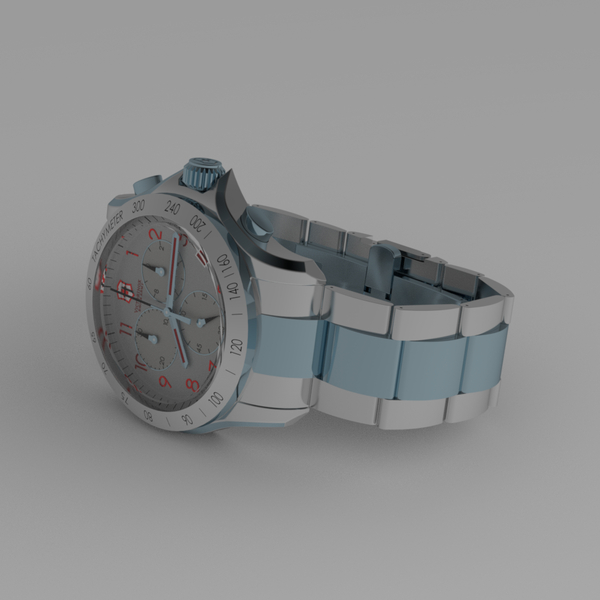
To insert a light, simply drag it into the zone:
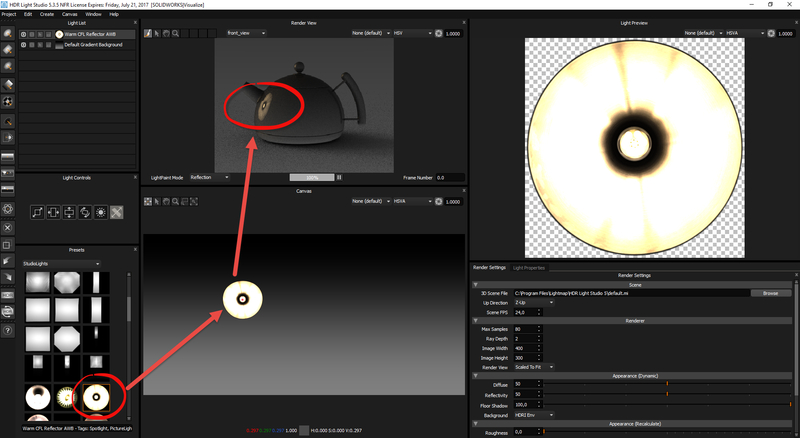
Immediate result in SOLIDWORKS Visualize:
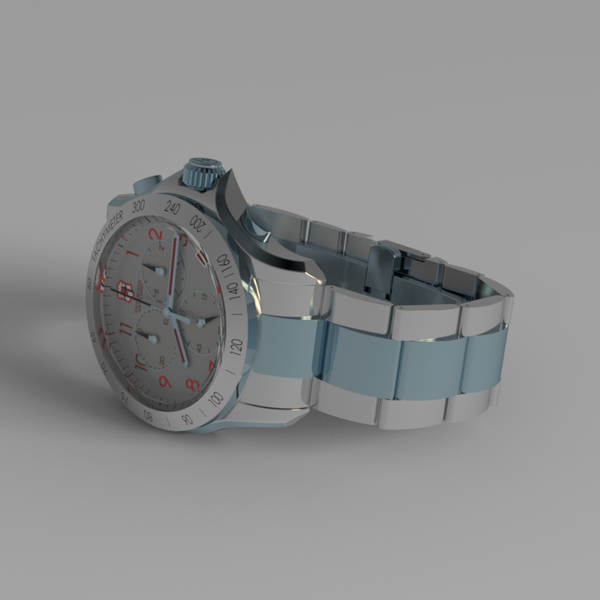
To change the position of the light, click on the model in the SOLIDWORKS Visualize window. In this way, you can adjust the position of the light in HDR Light Studio to suit the desired reflection.
Once you've added a few lights :

The result in SOLIDWORKS Visualize :
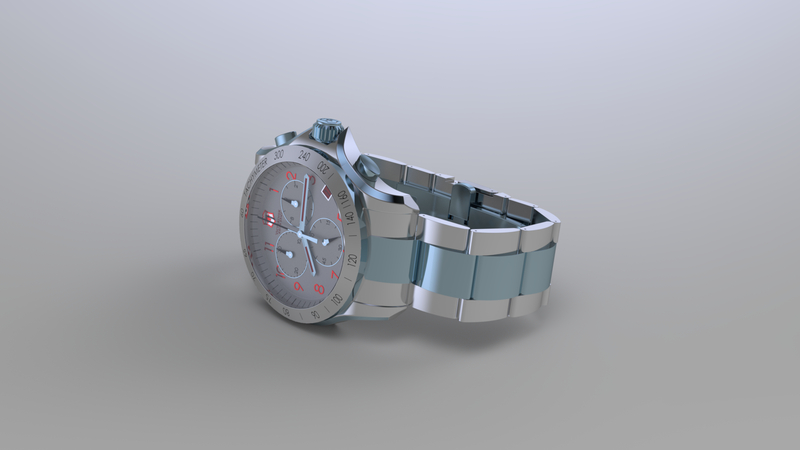
In conclusion
In short, the impact of light on your rendering is very important! It completely changes the way the image will "speak" to your model, and thus modify the perception of quality and realism.
Don't hesitate to share your work on the myCAD forum!